Visualize Spawn Points
Let's start by writing some code to visually display where the current pipe spawn point is, and within what range it can be generated.
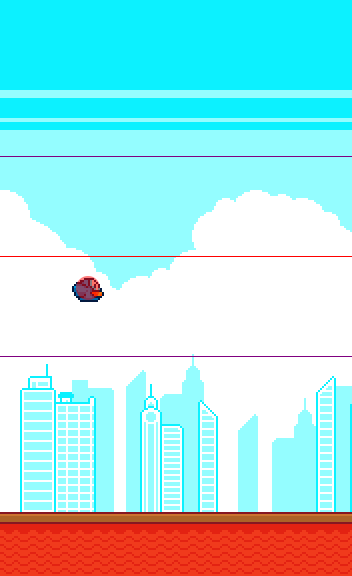
We'll end up with something that looks like this:

The red line is the current spawn position - just like the visual aid we made in the previous chapter, and the purple lines represent the range a spawn position can be generated within.
Pipe Manager Config
Let's store some pipe manager config data:
We'll use this next to configure some of the pipe manager's properties.
Pipe Manager Entity
Create the new pipe manager entity:
This should look pretty standard by now.
Let's review a few standouts:
halfGameHeightis used to get the vertical center of the game screen minus the ground height. We don't want to include the space the ground sprite takes up when we calculate the spawn positions.doubleBufferis used to make the distribution of pipes double the size of our pipe buffer.spawnPositionYMinimumis the minimum Y position for the spawn position. The top purple line.spawnPositionYMaximumis the maximum Y position for the spawn position. The bottom purple line.currentSpawnPositionis the current spawn position for the last pair of generated pipes.currentSpawnPosition.xis set to the width of the game screen. This ensures that the pipes will spawn offscreen.currentSpawnPosition.yis set to the center of the game screen minus the ground height.draw()is rendering all three of our reference lines.
Go ahead and add an instance of the pipe manager to the game and call the draw method:
We'll draw the pipes between the bird and the ground. This way the pipes are always behind the ground but in front of the bird.
You can either set game.debug = true for now, or press the d key as needed to toggle debug mode. You should see the game looking like image above in the canvas.